Published:
September 2, 2023
Edit website in Webflow Editor
Related articles:
Edit website in Webflow Editor
After you log in to the Editor you can start with editing the content. You can edit texts, images, and links. Select a page that you want to change and start with editing.
Watch a video on how to change content using the Editor:
Edit text in Webflow Editor
- Hover over the text that you want to edit.
- Click on the “Pencil” icon in the top right corner.

- Edit the text.
Webflow uses autosave to save changes. Your changes will not be visible until you click on the “Publish“ button. - Publish
By clicking on “Publish“ button your changes will be visible on the website.
Edit links in Webflow Editor
You can edit or create links in the Editor. Also, you can choose, if the link will open in a new tab.
- Select a text or link that you what you want to create or edit
- Click on the “Pencil” icon in the top right corner.
- Select the text where you want to create a link and click on “Link“

- Type or paste the URL address that you want to open when you click on the link.In settings, you can choose if you want to open the link in a new tab.

- Choose the right type of your link. Select “Link“ button → Choose the type of the link that suits you the best.

- You can choose from a variety of links such as URL, a page from your website, a page section, Email, Phone.

- Page - use Page if you want to refer to a page on your site such as Blog, Contact, About, etc.
This helps you in the future. If you change the URL of the Contact page (changing domain, etc.) you will have to change it in all links you have on the page. By choosing “Page“, the link will work out even when you change URL of the the linking page.
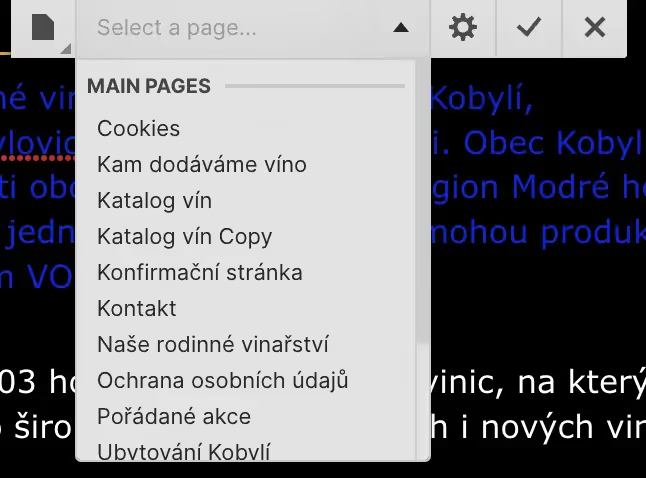
- Page section - use the link “page section” when you want to scroll down/up on your site by using the link or button.
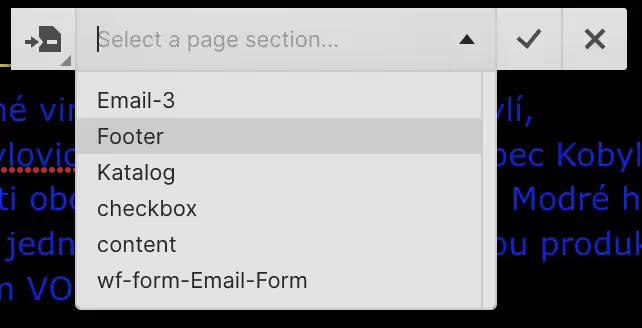
- Email - add an email address you want to be displayed.

- Phone - add a phone number you want to be displayed.

Edit images in Webflow Editor
- Hover over an image that you want to change.
- Click on the “Image” icon in the top right corner.

- Select an image you want to use.
- Click “Open” to replace the image by the selected one.
Edit buttons in Webflow Editor
- Hover over a button that you want to change.
- Click on the settings “Wheel” icon in the top right corner.
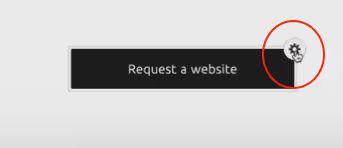
- Click on “Edit link settings”, and change the target URL, Page, Page section, Email, or Phone link where you want the button to be linked. Such as with the links described.
- Click on “Edit text” to change the text in the button.
Publish in Webflow Editor
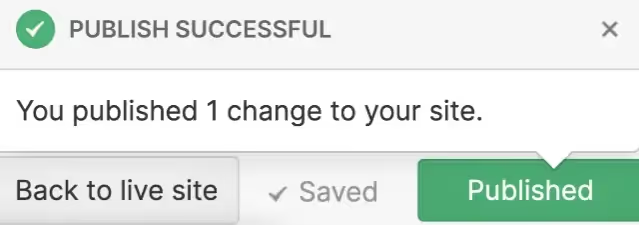
To make the changes live on the website you have to click on the “Publish” button. That will publish all staged changes. To be able to do that you will have to confirm, that you want to publish all changes.

The green “Published“ button indicates that you have published all of your changes.
Best of luck, if you have any question, you know where to find me.
Related articles
Contact


.avif)
