5 min read
How to edit Ecommerce in Webflow Editor
Edit Ecommerce
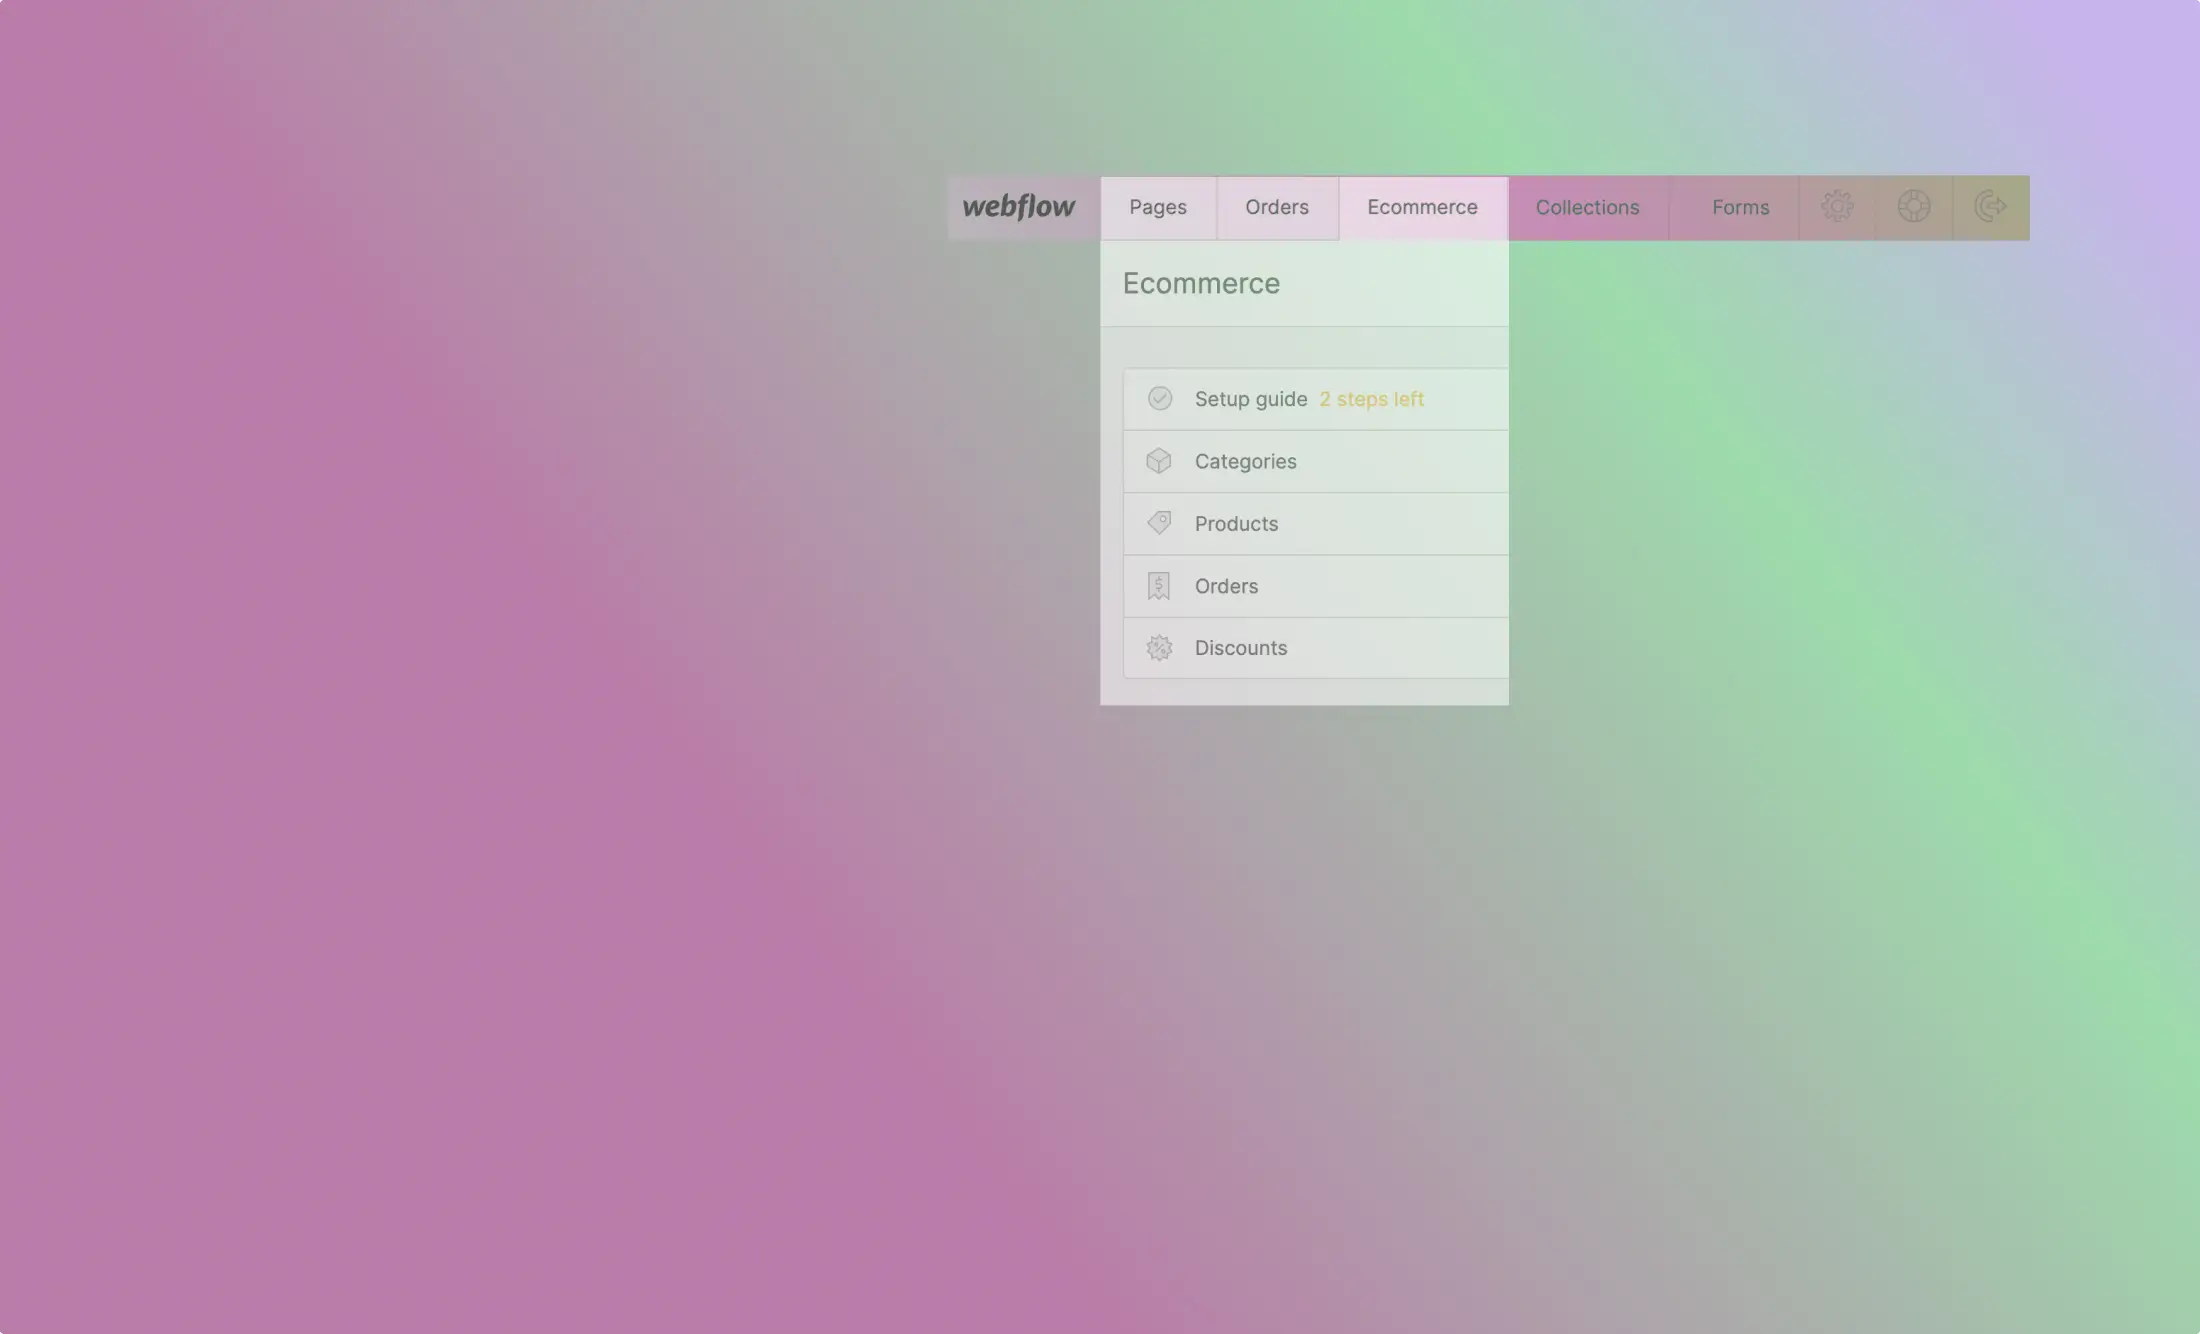
How to navigate in Ecommerce in Webflow Editor
In the Ecommerce tab, you can manage or create your Products, Categories of products, and Orders.
Watch a video on how to navigate in Webflow Editor’s Ecommerce:
Ecommerce settings
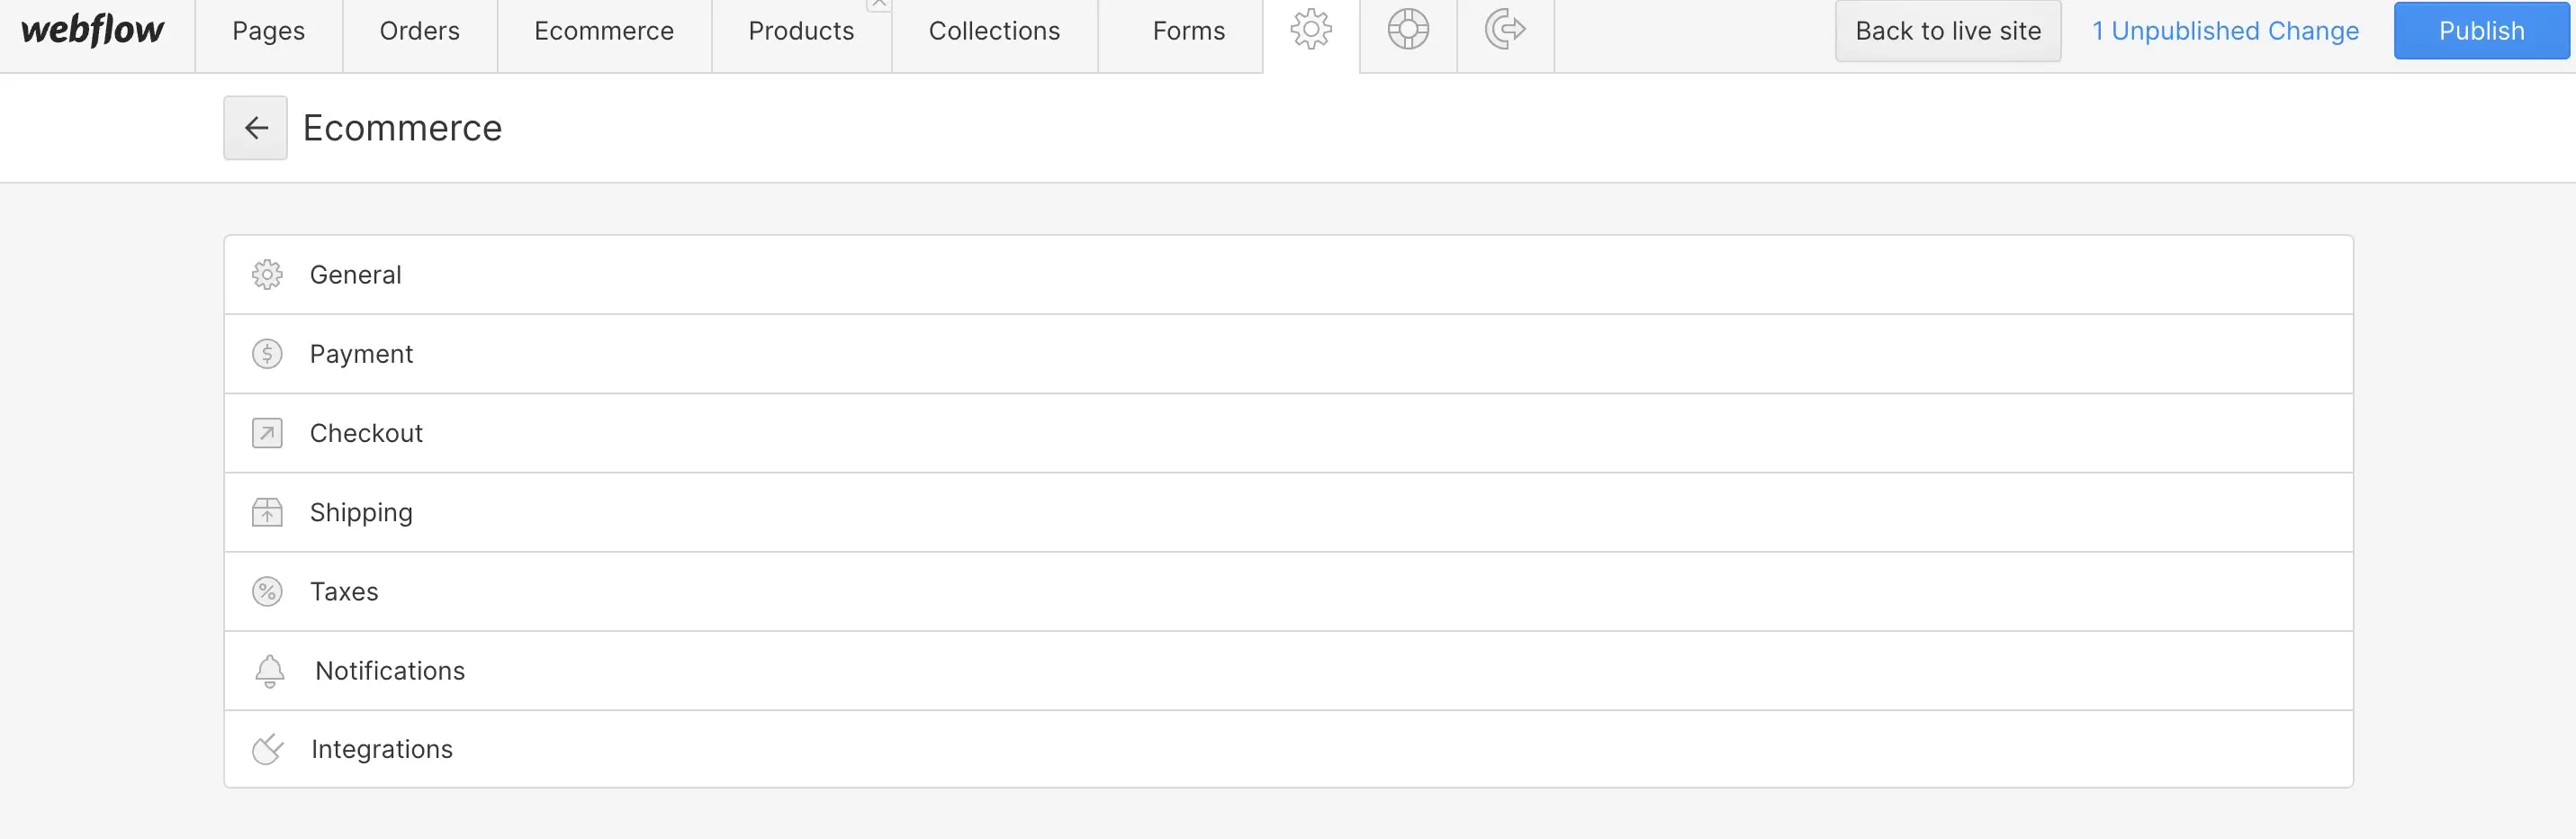
- Find Ecommerce settings by choosing a “Cog“ icon in Editor. Select “Ecommerce“. In this tutorial, I will only focus on General, Payment, and Shipping settings.

- Ecommerce settings will display:
General
In the General settings you can change:
- Business info such as Store name, and Customer support email
- Business address such as Bussines name, and Bussines address,
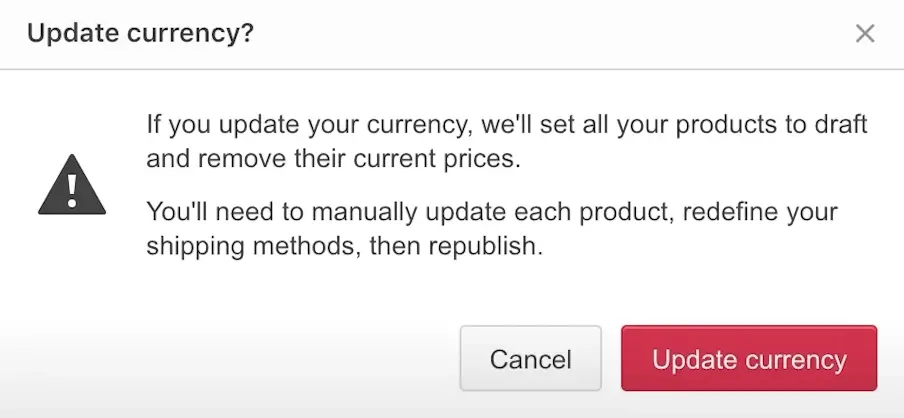
- Currency such as Store currency, Language and region, and Price preview.
By changing currency you will have to change price at each product.
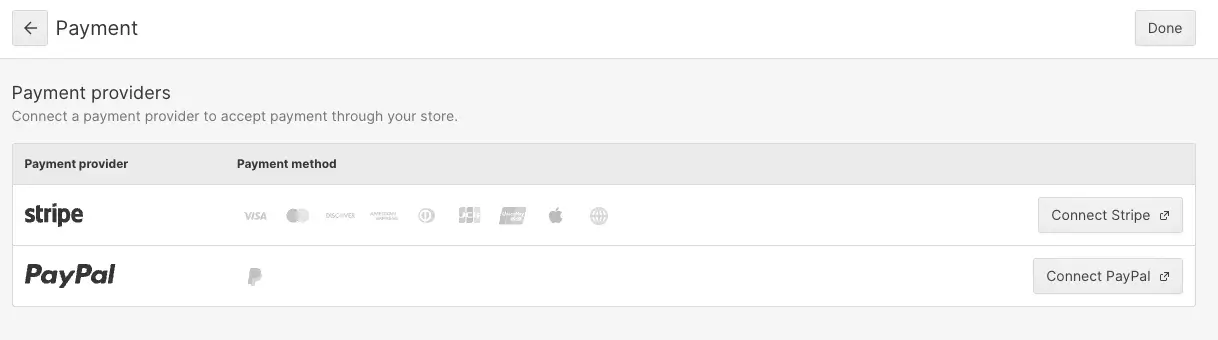
Payment
You can connect your e-commerce store to your Stripe or Paypal accounts in the Payments section.
Shipping
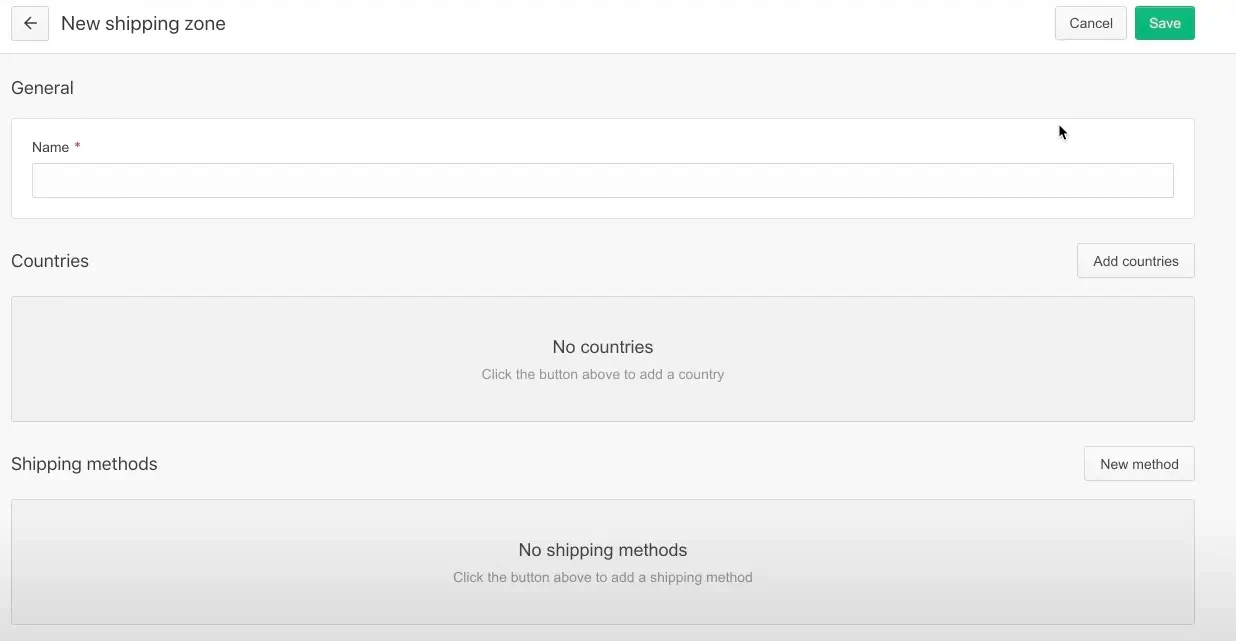
Create shipping to any country in the world. Create zones for larger areas and choose how will your customers pay for the shipping.
- Add a new shipping zone

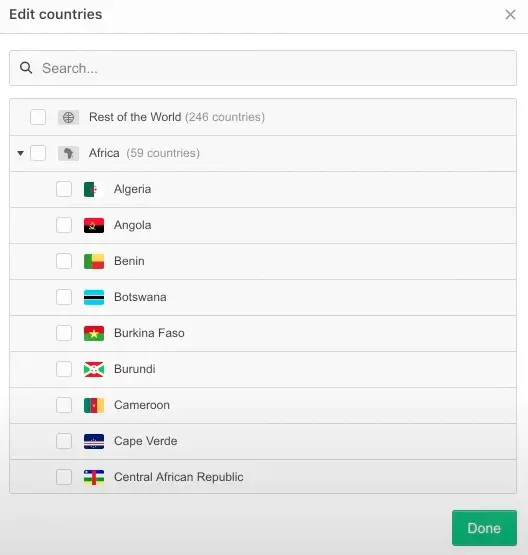
- Name it and click on the “Add countries“ button
- Choose countries for your new shipping zone
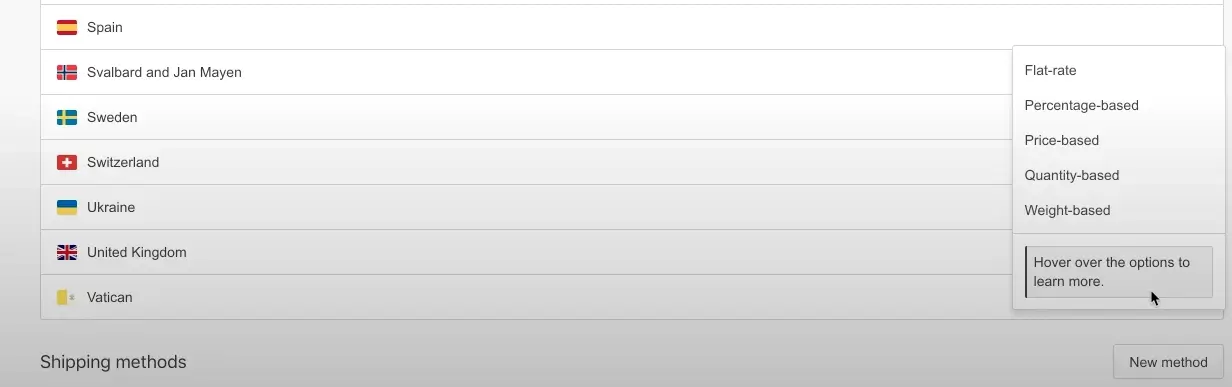
- Choose a payment method for your shipping
Always save changes and publish when you are done.
Subscribe to newsletter
Subscribe to receive the latest blog posts to your inbox every week.
Website pre-launch checklist
69 steps pre-launch checklist is the most complex checklist developed by years of experience in Karpi Studio.
You will find how to test and fix:
- loading speed issues,
- responsivity issues on all current devices,
- SEO issues,
- and many more.
€30 Now: €9.00
Check it now

